Stable Diffusion 教程:使用 Stable Diffusion 进行文本引导的图像到图像生成


本教程展示了如何使用 🤗 Hugging Face Diffusers 库创建用于文本引导图像到图像生成的自定义扩散器管道。阅读后,您将能够从一个简单的草图创建漂亮的 AI 生成的艺术品。

稳定扩散简介
Stable Diffusion 是一种文本到图像的潜在扩散模型,由来自 CompVis、Stability AI 和 LAION 的研究人员和工程师创建。它使用来自 LAION-5B 数据库子集的 512×512 图像进行训练。该模型使用冻结的 CLIP ViT-L/14 文本编码器根据文本提示调节模型。凭借其 860M UNet 和 123M 文本编码器,该模型相对轻量级并且可以在大多数 GPU 上运行。如果您想了解更多信息,请继续阅读此处。
让我们开始吧
!nvidia-smi在下载或使用权重之前,您需要接受模型许可。在本教程中,我们将使用模型版本 v1-4,因此您需要访问它的卡片,阅读许可并勾选复选框(如果您同意)。
您必须是 🤗 Hugging Face Hub 的注册用户,并且您还需要使用访问令牌才能使代码正常工作。有关访问令牌的更多信息,请参阅文档的这一部分。
!pip install diffusers==0.3.0 transformers ftfy!pip install -qq "ipywidgets>=7,<8"现在我们将登录 🤗 Hugging Face。您可以使用该notebook_login功能登录。
from huggingface_hub import notebook_loginnotebook_login()在此之后,我们将开始使用 Image2Image 管道。
import inspectimport warningsfrom typing import List, Optional, Unionimport torchfrom torch import autocastfrom tqdm.auto import tqdmfrom diffusers import StableDiffusionImg2ImgPipeline加载管道。
device = "cuda"model_path = "CompVis/stable-diffusion-v1-4"pipe = StableDiffusionImg2ImgPipeline.from_pretrained( model_path, revision="fp16", torch_dtype=torch.float16, use_auth_token=True)pipe = pipe.to(device)下载初始图像并对其进行预处理,以便我们将其传递给管道。
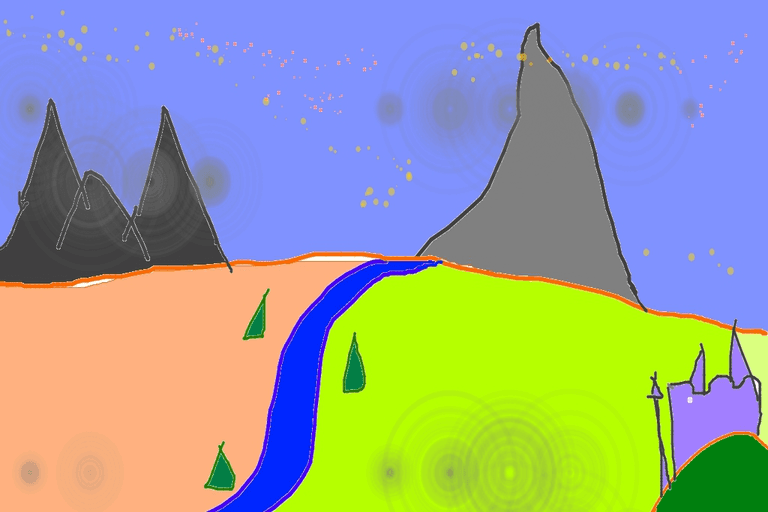
import requestsfrom io import BytesIOfrom PIL import Imageurl = "https://raw.githubusercontent.com/CompVis/stable-diffusion/main/assets/stable-samples/img2img/sketch-mountains-input.jpg"response = requests.get(url)init_img = Image.open(BytesIO(response.content)).convert("RGB")init_img = init_img.resize((768, 512))init_img
定义提示并运行管道。
prompt = "A fantasy landscape, trending on artstation"这里,强度是一个介于 0.0 和 1.0 之间的值,它控制添加到输入图像的噪声量。接近 1.0 的值允许很多变化,但也会产生与输入在语义上不一致的图像。
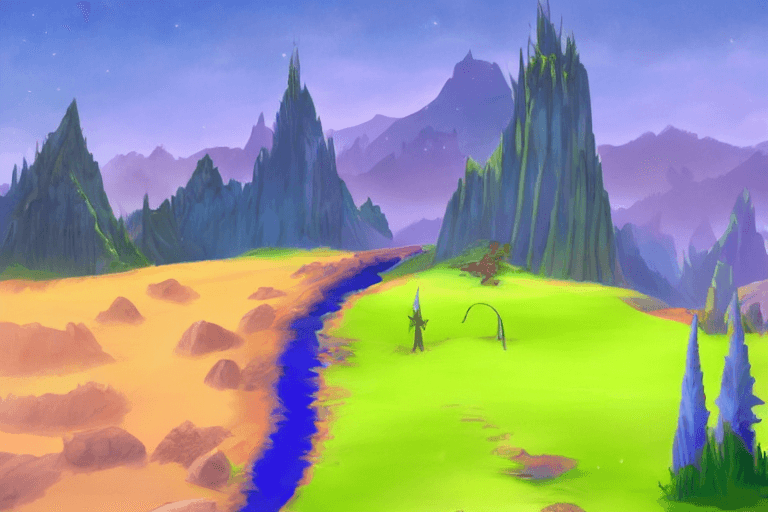
generator = torch.Generator(device=device).manual_seed(1024)with autocast("cuda"): image = pipe(prompt=prompt, init_image=init_img, strength=0.75, guidance_scale=7.5, generator=generator).images[0]在 Colab 中,您只需键入以下内容即可打印出图像:
image你有它!一个漂亮的人工智能从一个简单的草图生成了艺术品。

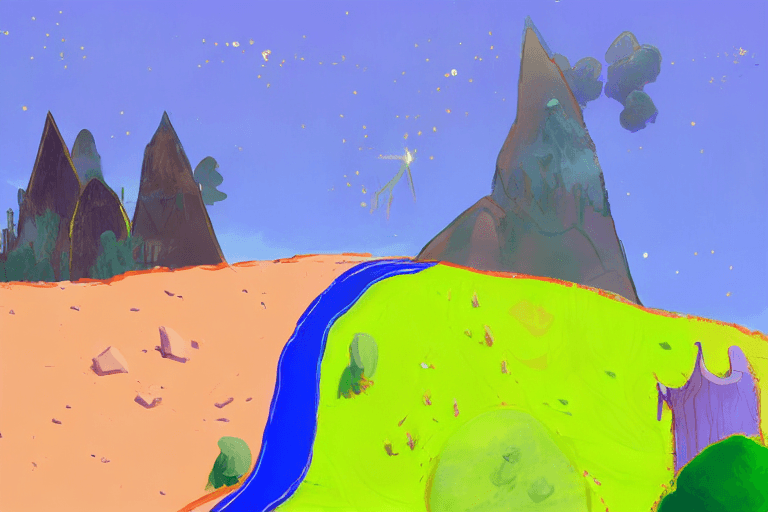
此外,您可以调整参数并测试最适合您的用例的参数。如您所见,当使用较低的强度值时,生成的图像更接近原始图像init_image:

请继续关注AIHubPro未来百科的教程!
谢谢你!– AI未来百科 ; 探索AI的边界与未来! 懂您的AI未来站
